
Greasy kitchen tiles rarely look bad all at once. It starts as a light film near the cooktop, then dust sticks to it, splatters dry on, and before long the wall feels tacky even after a quick wipe. If you have been wondering how to clean greasy kitchen tiles without damaging the surface or spending half your weekend scrubbing, the key is using the right method for the level of build-up.
In most homes, kitchen tile grease is a mix of cooking oils, steam, dust and food residue. That matters because plain water often just smears it around. You need something that can break down oil, lift the grime off the tile face and clean the grout lines without leaving a dull residue behind.
Why greasy kitchen tiles get harder to clean over time
Fresh splatters are simple. Older grease is different. Heat from cooking can bake oily residue onto tiles, especially around splashbacks and behind stovetops. Once that sticky layer sits there for weeks or months, it traps fine dust and turns into a stubborn coating.
Grout makes the job trickier. Tile faces are usually smooth enough to wipe clean, but grout is porous. It can hold onto grease, food vapour and discolouration more easily than the tile itself. That is why some kitchens still look dirty even after the tiles have been wiped down.
The good news is that most greasy tiles respond well to a careful step-by-step clean. The main mistake people make is going in too hard too early. Harsh scouring pads, strong chemicals or too much water can create more problems than they solve.
How to clean greasy kitchen tiles step by step
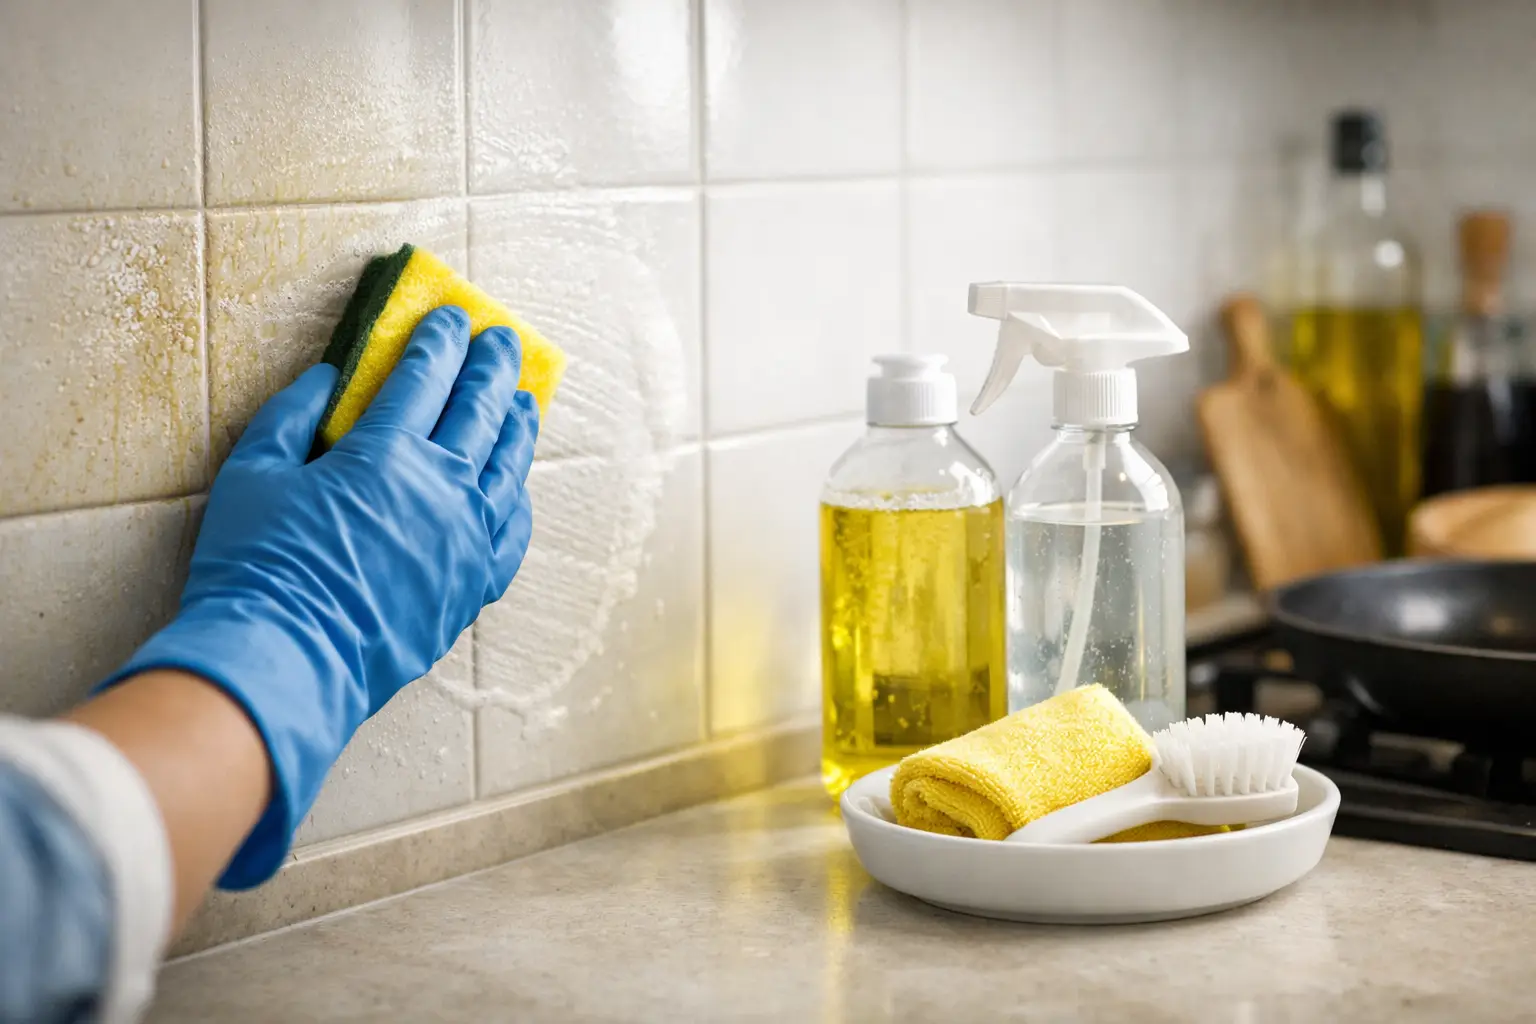
Start by dry wiping the area first. This sounds minor, but it helps remove loose dust and crumbs so you are not turning them into muddy streaks. A microfibre cloth works well for this.
Next, make a mild cleaning solution using warm water and a small amount of dishwashing liquid. For light to moderate grease, this is often enough. Apply the solution with a soft cloth or non-abrasive sponge and let it sit for a minute or two. Dwell time matters because it gives the cleaner time to break down the oil.
Wipe in small sections rather than doing the whole wall at once. This gives you better control and stops dirty solution from drying back onto the tile. If the cloth becomes greasy, rinse it out and refresh the water. Otherwise, you are just spreading the residue.
For heavier build-up, you may need a second pass. Spray the solution on, let it sit briefly, then work it gently with a soft brush, especially around grout lines and tile edges where grease tends to collect. A toothbrush or small detailing brush can help in corners, but keep the pressure light.
Once the grease is lifted, wipe the area again with clean warm water to remove leftover detergent. Then dry the tiles with a fresh microfibre cloth. This last step makes a real difference. It helps prevent streaks and leaves the surface looking properly clean rather than cloudy.
The best products for greasy tiles
If you are choosing what to use, mild and targeted is usually better than aggressive. Dishwashing liquid diluted in warm water is a reliable first option because it is designed to cut through grease. For many households, that is all you need.
A pH-neutral tile cleaner can also work well, especially if your tiles are part of a broader regular cleaning routine. These products are generally a safer choice for sealed surfaces and everyday use. If the grease is heavy, a degreaser labelled safe for kitchen tiles may be useful, but always test it in a small hidden spot first.
It depends on the tile material. Ceramic and porcelain are usually more forgiving. Natural stone is not. Stone tiles can react badly to acidic or highly alkaline cleaners, and some off-the-shelf grease removers are too strong for them. If you are unsure what type of tile you have, it is worth being cautious before applying anything powerful.
What to avoid when cleaning greasy kitchen tiles
The fastest way to make tile cleaning harder is to use the wrong tools. Steel wool, harsh scourers and stiff scrubbing brushes can scratch glazed tiles and wear down finishes. Once the surface is marked, it can attract more grime and become harder to maintain.
Be careful with bleach as well. It is often treated as a catch-all cleaner, but it is not especially effective on grease by itself. It can also affect grout colour and create strong fumes in a closed kitchen. The same goes for mixing products. Combining cleaners can be unsafe and is never worth the risk.
Too much water is another common problem. Saturating grout lines or letting dirty solution run into joins can leave staining behind, particularly if the grout is already porous or worn. Damp cleaning is better than soaking.
How to clean greasy kitchen tile grout
When people search for how to clean greasy kitchen tiles, what they often really mean is the grout. That is because grout holds onto grease in a way tile faces usually do not.
Start with the same warm water and dishwashing liquid mix, then use a soft grout brush or old toothbrush to work along the lines. Small circular motions are usually enough. You do not need to grind away at it. Let the cleaner do some of the work.
If the grout is still dark after that, the issue may not be surface grease alone. It could be embedded soil, old staining or degraded sealer. In that case, household cleaning can improve the appearance, but it may not fully restore the original colour.
This is where professional tile and grout cleaning can make a visible difference. High-performance extraction equipment and tile-safe cleaning solutions can remove deeper build-up that regular wiping leaves behind. In busy family kitchens or rental properties preparing for inspection, that can save a lot of time and frustration.
A simple maintenance routine that keeps grease under control
The easiest clean is the one you do before the grease hardens. Wiping splashback tiles after cooking, especially after frying or using the cooktop for a long stretch, stops residue from building into a sticky layer.
A quick weekly wipe with a mild cleaner is usually enough for most kitchens. If you cook often, have young children, or the kitchen has limited ventilation, you may need to clean the area around the stove more often. Grease builds faster in homes where cooking is frequent and windows stay shut.
Good airflow helps as well. Using the rangehood properly can reduce the amount of airborne oil settling onto tiles, cupboards and benchtops. It will not stop build-up completely, but it does reduce how quickly surfaces turn tacky.
When DIY cleaning is enough and when it is not
For light to moderate grease, a careful home clean is usually enough. If the tiles still feel sticky after repeated washing, the grout remains dark, or the surface has years of baked-on residue, DIY methods may only get you part of the way.
That does not mean you have done anything wrong. Some build-up simply needs stronger equipment and a more specialised process, particularly in older kitchens or properties that have not had a proper deep clean in a long time. If you are in Melbourne’s western suburbs and dealing with tile and grout that no longer responds to regular cleaning, a professional service can often restore the finish more effectively and with less risk of damage.
Green Lion Carpet Clean sees this often in kitchens where the visible problem looks like surface grease, but the real issue is deeper grime lodged in grout and textured tile.
A clean kitchen does not need to be spotless every hour of the day. It just needs the right attention at the right time. Deal with grease early, use products that suit the surface, and if the build-up has gone beyond a standard wipe-down, get help before aggressive scrubbing does more harm than good.


